


A Guide to the Ultimate Car Camping Kitchen
Eating well while camping may sound difficult, but it’s actually incredibly easy. Like most memorable meals, all it takes is a little prep work. If you’re ready to ditch dehydrated dishes and take your car camp cooking game to the next level, you’re in the right place. In this guide to the ultimate car camping kitchen, we’ll cover the following:
- ⚙️Our favorite adventure-worthy camp kitchen gear
- 🧠Smart storage essentials that’ll help you compartmentalize your camp kitchen
- 👩🍳Game-changing camping, cooking, and cleaning tips
Read up and soon you’ll be whipping up gourmet grub miles from civilization!
Do you prefer watching the Cooking Channel over reading cook books? Check out this short video on camp cooking we just put out on our YouTube channel! We cover much of the same info (and more!) but in a visual format.
Why Camp Chefs Love Car Camping
Before we dive into the meat and potatoes of this article (camp cooking pun very much intended), we’ll quickly outline why most camp chefs prefer car camping over other means of outdoor adventure.
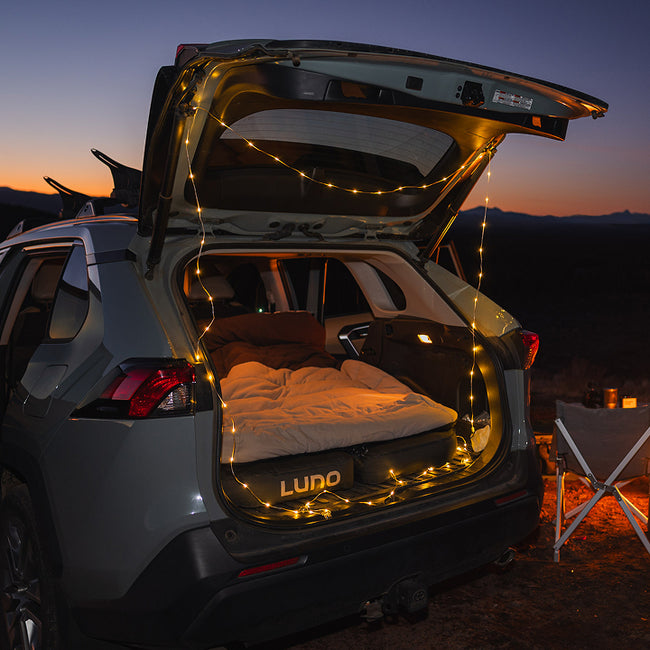
Now, if you’re new to the Luno Journal, we’re big fans of car camping around here. In fact, we designed our award-winning Luno Mattresses to help outdoor enthusiasts turn run-of-the-mill hatchbacks and SUVs into comfy, cozy adventure mobiles. But we don’t just sleep better when we’re car camping–we eat better, too.
How so? Well, backpackers are tasked with carrying every ounce of grub and gear upon their aching shoulders, so they subsequently embrace lightweight cooking kits and dehydrated meals. Understandable–although, those dehydrated meals aren’t always particularly toothsome or easy on the stomach.
However, car campers don’t need to walk that footpath to flatulence. No sir. Cooking in the wilderness gets much easier when you have the trunk space to haul a double-burner camp stove, a cooler packed with fresh produce and proteins, and a smorgasbord of the latest and greatest kitchen gear.
Long story short? If cheffing up a storm deep in the woods sounds up your alley, it might be time to snag a Luno Air Mattress and bunk in the trunk. Now that we’ve got that shameless plug of an appetizer out of the way, let’s tuck in to the entrée.
Car Camp Cooking Gear: Everything You Need To Chef Up Magic On The Road
As we dive into this rabbit hole of car camping kitchen gear, keep in mind that this is by no means a be-all, end-all list. Expect to add or subtract gear as you continue car camping and find out what works for you. That said, here’s what works for our crew of dedicated car campers and aspiring chefs:
1. A Sturdy Table
If your campsite has a picnic table or a perfectly level slab of granite, you might not need a table. Otherwise, a sturdy surface to cook on is the backbone of your car camping kitchen. Simply put, tables make for easier clean-up, prep work, and all-around organization. Plus, they keep your food elevated off the ground, reducing the chances of sand, dirt, or camp critters ruining your meal.
We recommend you look for a camp table that’s stable, packable, and heat-safe. An added bonus? Adjustable legs, which help you adapt to uneven ground and ensure your camp table is always level. Our go-to is the Camp Time Roll-a-Table With Adjustable Legs, but there are plenty of solid options out there.
2. A Durable Double-Burner Stove
We love two-burner stoves because they double your cooking capacity, making it easier and faster to cook for larger groups. For instance, if you’re tackling breakfast for the crew, you can whip up bacon in one pan and eggs in another.

When picking out a two-burner stove, key considerations are time-to-boil, wind resistance, simmering ability, ease of care, and portability. Our advice? You can’t go wrong with the critically acclaimed Camp Chef Everest. Primus, Eureka, and Coleman also make solid options at a price point that’s easier to swallow.
A Note On Single-Burner Stoves
While we generally prefer two-burner stoves for car camping, there are times when a single-burner stove is a decent option. These lower-profile stoves are best for one-person meals and one-pot recipes, so if you’re rolling solo or like to keep it simple, they can be a smart play. Plus, they’re definitely more affordable. Eureka, Coleman, and Jetboil make a few of our favorite single-burner camp stoves.
Last but not least, backpacking stoves are the most compact option on the market. They often aren’t ideal for simmering or whipping up bigger meals, but they boil water quickly and are seriously compact. Our favorites are made by GSI, SnowPeak, JetBoil, and MSR. Most car campers will skip the backpacking stoves, but if you already have one, consider bringing it to complement a two-burner camp stove. When we’re cooking breakfast for a bigger group, we like to cook on the double-burner and churn out hot water for coffee and tea with a backpacking stove.
No Stove? No Problem. Cook Over Coals And Campfires!
That campfire isn’t just for s’mores. Assuming fire bans aren’t in effect, cooking over a fire or coals can be a fun and memorable car camping activity. Dutch ovens, grills, and even good old-fashioned skewers can spice up your camp cooking repertoire!
Unsure how to responsibly manage and minimize campfire impact? Check out our guide to the seven Leave No Trace principles here.
3. A High-Quality Cooler
Especially if you’re camping for multiple nights, a solid cooler is an invaluable addition to your camp cooking arsenal. Yeti is a world-renowned leader in the space, although a few brands are giving the beer-chilling behemoth a run for its money (at a lower price, mind you), among them Orca and RTIC.
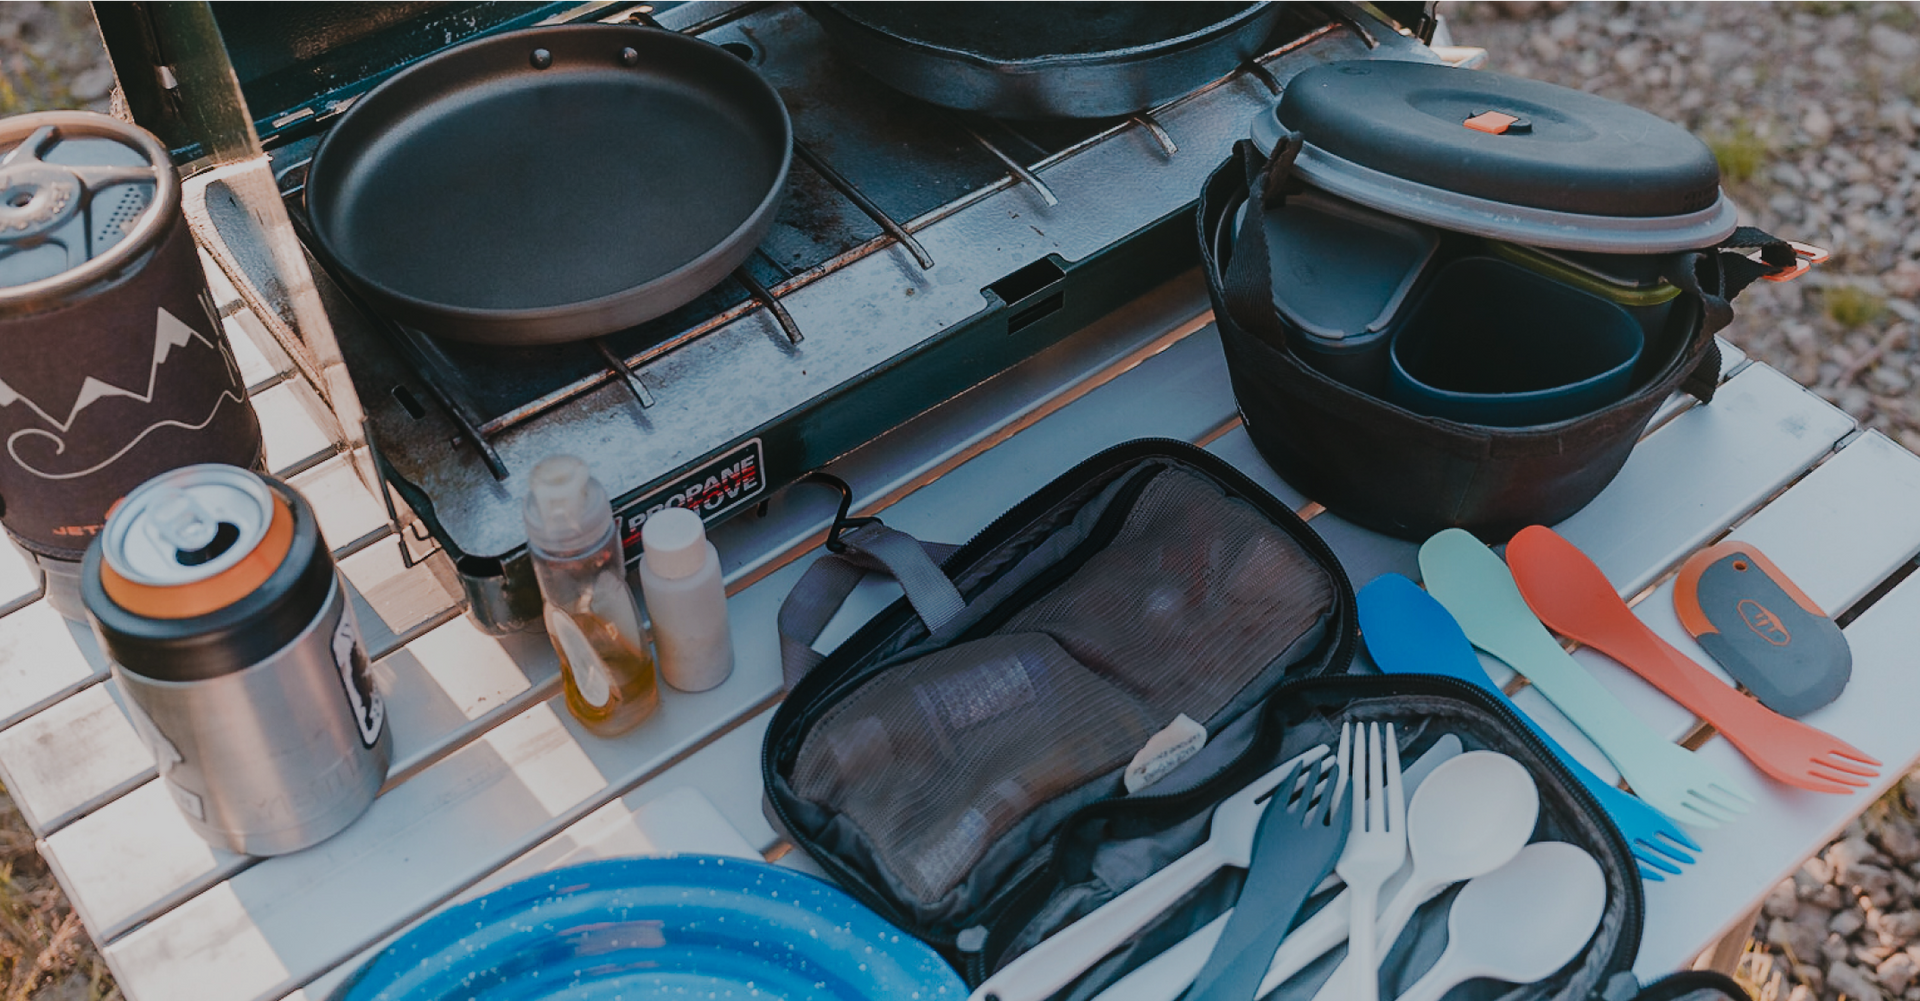
4. Cookware, Flatware, & Dinnerware
Some campers will go all out, investing in purpose-built camping cookware like this kit from GSI. Nothing wrong with that. However, if you are looking to save money, you can always borrow cookware, flatware, and dinnerware from home. Again, you’re not carrying camp kitchen gear in your backpack, so it doesn’t matter if it’s on the heavy side. Regardless of the path you take, here’s a snapshot of the kitchen gear we like to bring along on car camping adventures:
- Pot
- Skillet
- Lighter
- Knife
- Cutting board
- Can opener
- Meal prep utensils (such as a spatula or wooden spoon)
- Compact scraper (This one from MSR is a trip-saver)
- Tea kettle or coffee pot
- Plates and bowls
- Sporks or basic eating utensils
- Coffee mugs or cups

3 Luno Storage Essentials: Keep Your Camp Kitchen Gear Organized With These Nifty Accessories
Now that we’ve touched on gear, let’s talk about keeping that gear organized. Maintaining a clean rig and a tidy kitchen will not only make it easier to cook, but it also makes leaving camp for a day of adventure faster and less stressful. Here are a few of the organizational tools we use to keep our camp kitchen clean and compartmentalized.
Magnetic Gear & Shoe Storage Bags
Strong, microfiber-lined magnets attach these practical bags to the exterior of your rig without scratching the paint, allowing for easy access while cooking. We like to use these bags for everything from storing food and collecting recycling to stashing kitchen utensils. Indeed, many Luno crew members camp with three or four of these bags in tow!
Gear Tote 50L
A wide-mouthed, collapsible bin that’s easy to clean and exceptionally durable, the Gear Tote 50L is a perfect receptacle for all of your camp kitchen essentials. We like to chuck our stove, fuel, utensils, and other camp kitchen gear in one tote, and store dry food in another. The open top makes it easy to take stock of your provisions, and the heavy-duty handles make hauling it from trunk to table a dream. Plus, the durable fabric is upcycled from retired Luno Air Mattresses, so it’s hard-wearing yet remarkably easy to clean–not to mention easy on the environment, too.
Cargo Hammock
Our Cargo Hammock revolutionizes your car camping life by turning unused vehicle ceiling space into easy-access storage. We like to stash essentials that we just can’t lose (like lighters and headlamps) in the zippered pocket, while the mesh shelf is fantastic for stashing dry provisions, lightweight camp tables, you name it.
8 More Kitchen Tips And Tricks To Car Camp Like A Pro
Everything from prep work and planning to clean-up and storage gets easier when you strategize and execute like a pro. Here are a few more tips to keep in mind ahead of your next car camping adventure.
1. Prepare Food Ahead of Time
Some car campers love chopping and cooking at camp. Others want to minimize kitchen chores to maximize time spent hiking or biking. If you resonate with the latter, you can pre-cut ingredients at home to free up your days while camping. Just store those pre-cut ingredients in reusable bags or containers and stack them in your cooler until you’re ready to use them.
2. Be Smart About Grocery Storage
While you have plenty of trunk space to work with while car camping, it’s still a smart idea to pare down your groceries before you hit the road. Here are a few ideas to help you do just that:
- Ditch unnecessary food packaging at home.
- Pre-mix sauces and store them in reusable containers.
- Keep condiment packets from take-out or fast food restaurants and bring those instead of full-size bottles and jars.
- You can even crack your eggs at home and keep them in a mason jar or tightly sealed container.

3. Ice Packs vs. Ice Blocks
For quick overnights, ice packs will keep your perishables cool just fine. You won't have to worry about grabbing a bag of ice on your way out of town, and you can reuse your packs time and time again. For longer trips or expeditions in warmer temperatures, a bag of ice is the way to go.
If you go the ice route, continually drain the water so that your ice stays solid for longer. If replenishing ice on the road isn’t an option, pre-cool your cooler the night before you set off with a sacrificial bag of ice. Most of this bag will likely melt, but it will help keep the next bag of ice cold for longer.
4. Don’t Forget To Fuel Up!
Even the best car camping stoves are worthless without fuel. Don’t forget to stock up on fuel and bring an extra canister just in case. Keep in mind that different stoves run on different types of fuel, and it’s worth double-checking to ensure your stove is compatible with both the fuel type and canister style.
5. Bear Safety
When camping in bear country, keep your camp clean and practice safe food storage. Your car is a good storage tool, but it may not always be enough. If you plan to store food in your car, make sure to keep it contained and out of sight. Remember to roll your windows up before leaving your car unattended and lock your doors.
If a bear box is available, use it to store any big items like your stove, pots, and cookware when not in use. In more remote areas, you can also set up a bear hang for your food or stow food in a bear canister.
Want to learn more about bear safety? Head to our article on car camping in bear country.
6. Conscientious Clean-Up
You may be used to going heavy on the dish soap at home, but the majority of camp cleaning can be done with water and a good wipe-down with a rag or scraper. If you’re tackling tough, greasy messes, use a biodegradable soap, like Dr. Bronner’s. Be sure to dilute the soap and use it more sparingly than you would at home. Regardless, make sure to Leave No Trace and pack out the food scraps with the rest of your trash.

7. Pack It In, Pack It Out
If you packed it in, pack it out. That goes for trash, food scraps, and even water used to clean dishes (AKA gray water). Bring a trash bag or two for trash and scraps–not only will you be able to carry all your trash out, but you can also pick up any litter that you run into along the way.
You can use an old jug, jar, or bottle to pack out your gray water. If you have to dump gray water, make sure to do so at least 200 feet from a water source, preferably in a high-traffic area, such as a road, or dig a small six-inch hole to bury it. Try to dilute your gray water as much as possible and strain the food particles out.
8. Leave It Better Than You Found It
To wrap up, we’re going to echo a few Leave No Trace principles here. Cooking while car camping is a ton of fun, but it can be a burden on the places we love if we’re not mindful. Stick to sites that have clearly been camped in. Pick up trash, even if it’s not yours. Keep your fires in the existing fire ring, no need to build an additional one. Better yet, bring a fire pit. Burn and transport only endemic firewood. Last but not least, always leave your campsite better than you found it.
Bon Appétit, Backcountry Chefs!
We like to think of this article as a basic recipe. Follow it, and you’ll learn the ropes of camp cooking. And down the road, you’ll inevitably be able to add your own twists to it–a little flavor here, a little garnish there.
Regardless of whether you’re looking to wow your campmates, spice up your camp cooking repertoire, or simply fuel up with healthy fare before a day on the trail, we hope this guide helps you on your culinary journey.
Thanks for stopping by, and we’ll see you on the road,
The Luno Crew

