


Camp Cuisine: How to Make a Camping Walking Tacos/Frito Pie
It’s time to talk about the ultimate camping meal: walking tacos. You may have snacked on this at your local high school football games, if you hail from Texas or New Mexico, you might find these to be a close cousin to “Frito Pie” but, we are going to share a yummy campsite twist on regular old tacos.
Walking Tacos get their name from the fun way you can eat it! Usually, the dish is made directly in a small chip bag so that you can walk around while you’re munching. However, since we want to minimize waste while we are hanging out with Mother Nature, we are going to make ours with plates and bowls instead. Don’t worry though, It is still incredibly easy to make and even easier to eat. So grab your pans and your Luno and let us tell you how to master this scrumptious meal on your next adventure.
Prep time: 15-minutes
Cook time: 10-minutes
Servings: 4-5
Supplies:
- Pan to cook your taco meat in
- Spatula for cooking
- Cutting board
- Knife for chopping
- Bowls/plates, and utensils for eating
Ingredients:
- Cooking oil of choice
- 1 pound ground beef (can sub Beyond/Impossible/Tofu if vegetarian)
- Taco Seasoning (Our favorite is Siete but the kids always love Taco Bell’s taco seasoning)
- Chips of Choice (Fritos or Doritos work best!)
- Diced onion to cook with the taco meat (optional)
- Taco toppings (see below)
- Sour Cream (or we like to substitute plain greek yogurt)
- Chopped or grilled onion
- Salsa (our favorite is Herdez Guacamole salsa)
- Hot sauce (our spicy lovers always recommend Trader Joe’s Habenero Hot sauce but you could always stick to the classics like Tapatío or Cholula)
- Shredded cheese
- Shredded Lettuce
- Diced Tomato
- Jalapeño
- Avocado/Guacamole
- Black Olives
Pro Tip: To save yourself some time and excess trash, we recommend prepping some of the ingredients ahead of time. Chop up all of your veggies and shred your cheese (if need be) before tossing all your desired toppings in reusable containers and packing everything in your cooler.
Instructions:
- In a large pan, saute the diced onion in a bit of oil.
- Add in your ground meat and let cook, stirring occasionally. Make sure there’s no pink left!
- While that cooks you can chop your veggies and prepare the toppings if you didn’t already.
- Once the meat is cooked, season with taco seasoning. You can add a bit of water to help distribute the seasoning evenly.
- Set aside and let it cool a bit.
- Normally you would just pop open a small chip bag and toss all of your ingredients right in but, since we want to do our best to leave no trace, we’ll leave the tiny chip bags behind. Instead, grab your big chip bag and some bowls or plates. Then, you can either make one big pile of walking tacos and serve scoops or go the recommended route and let everyone build their bowls for maximum chip crunch.
- Dump a hefty scoop of meat right on top of your chip mountain and then top it to your heart’s desire.
Pro tip: Put shredded cheese on the chips before the meat so it melts nicely.
Pro tip: If you want to deal with less waste, you can use one large bag of chips and pour it out into bowls instead.

Recommended Topping Combos:
- The Elite: The very best topping combo is cheese. That’s it—just cheese. Sometimes the simplest ingredients are the best.
- The Classic: Shredded cheese, diced onion, diced tomato, guac, and your mom’s homemade salsa. If you’re extra nice to her, maybe she’ll make you some.
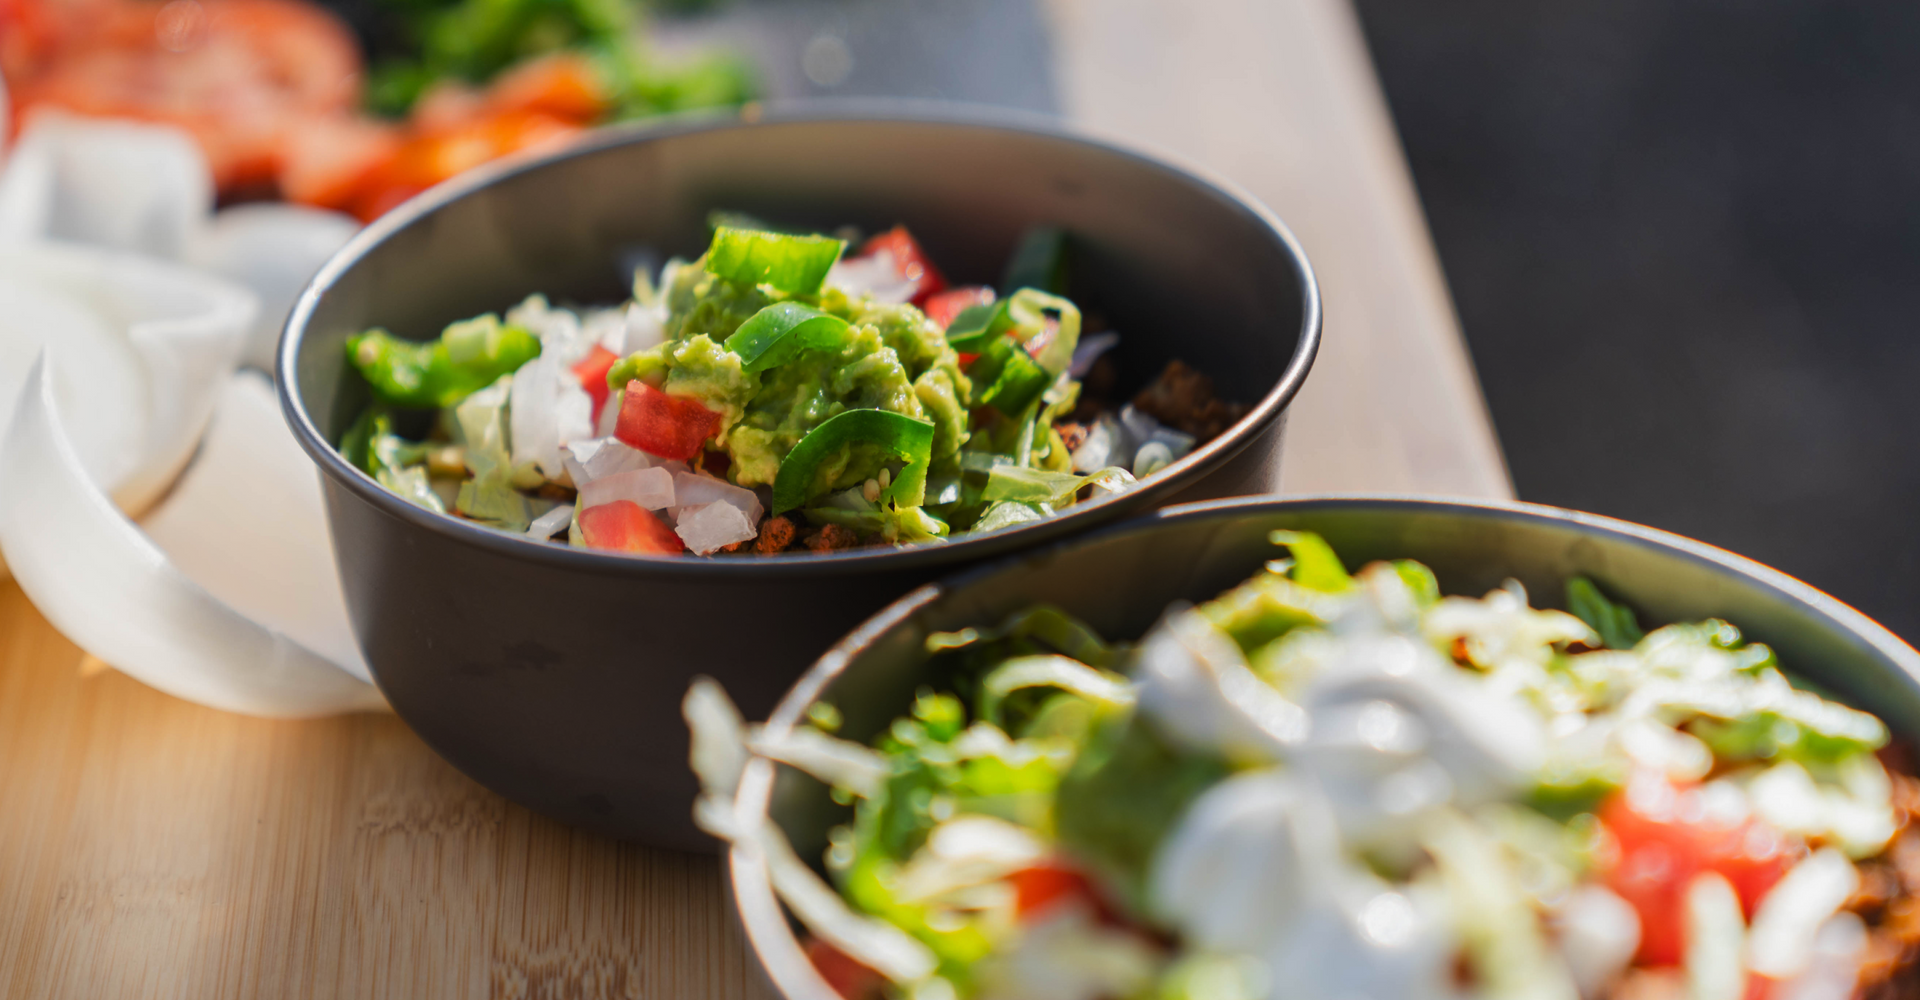
- The Whole Enchilada: Shredded cheese, diced onion, pico, guac, salsa, sour cream, jalapeños, black olives, and shredded lettuce
- The Basic: Shredded cheddar cheese, sour cream, and shredded lettuce
Now for the sake of our southern audience, I’ll tell you a bit about “Frito Pie”. There has been much debate between Texans and the residents of New Mexico about where the recipe for “Frito Pie” originated but the debate was finally put to bed. The Frito-Lay company is responsible for the original recipe that they first served in Dallas. The recipe is very similar to walking tacos except you MUST use Fritos, obviously, and instead of taco fixings, you use chili topped with cheddar cheese and diced white onion.
This version is easier yet equally delicious if you are looking for a version with fewer ingredients to pack in and pack out on your next camping trip. Just make sure you recycle your chili can!

Hope you give this recipe a try on your next adventure and let us know if you enjoyed it. Make sure to check out other recipes on our blog where you can find more inspiration, guides, tips, and tricks for your camping adventures. To make sure not to miss our next recipe, subscribe to our email list so you never miss an update.

